Often times we introduce solid foods to our infants prematurely. Ideally babies should be exclusively breastfed or formula fed until they are 6 months old. Once your baby is 6 months old “solid” baby food can be introduced in stages if they are sitting up with some help, can hold 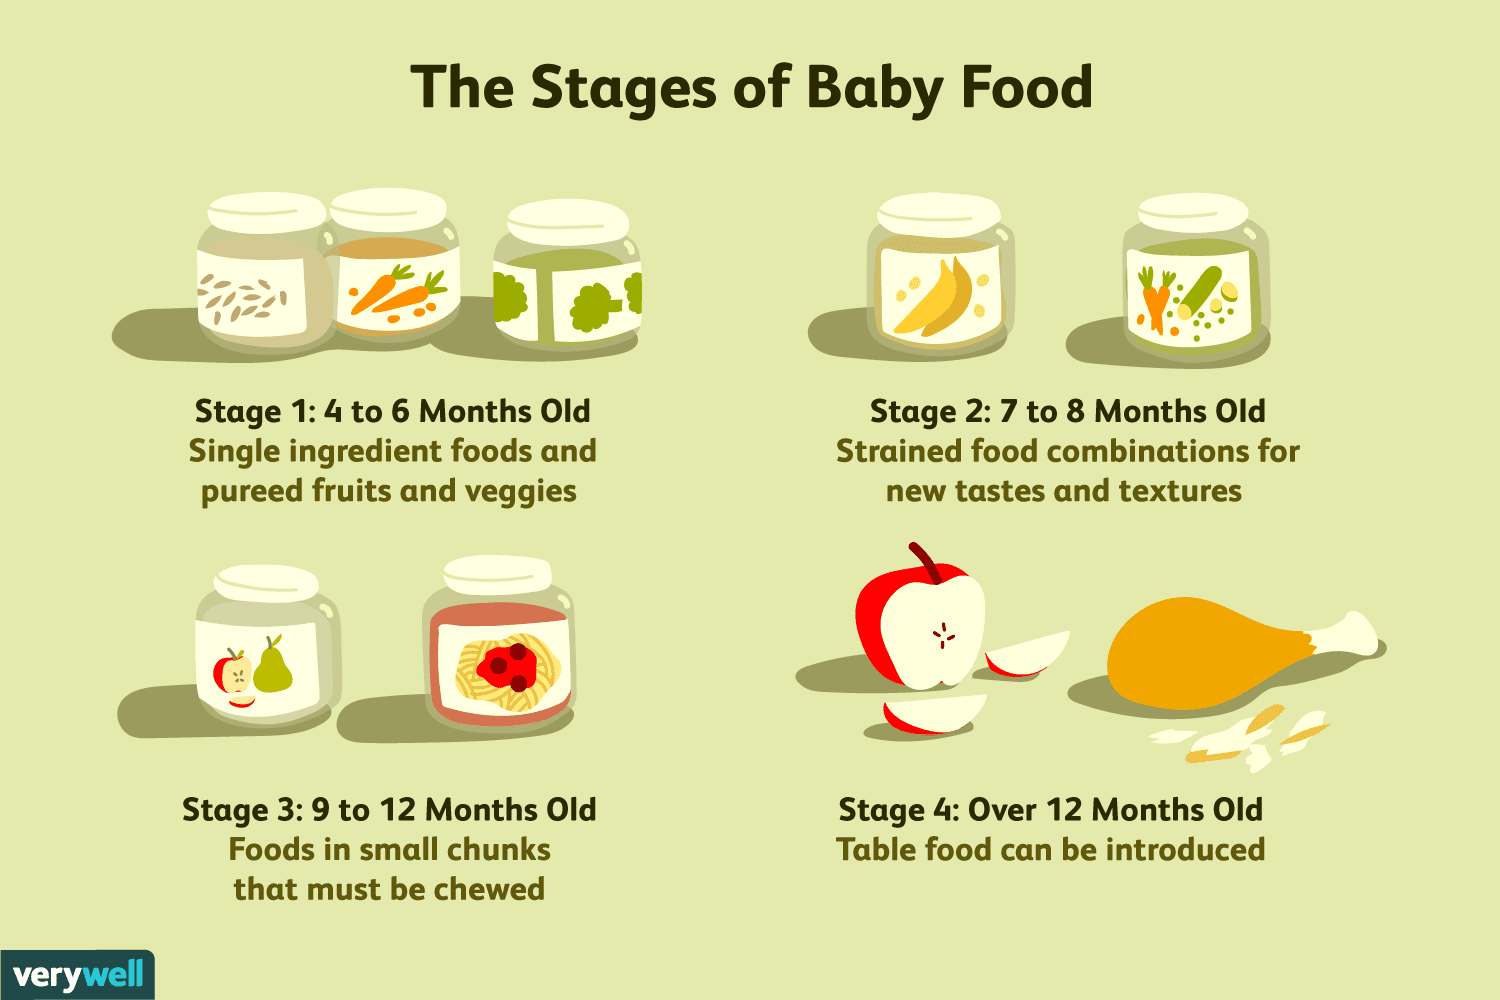 their head steady and straight, open their mouth when they see food coming, close their lips around a spoon, and keep food in their mouth rather than pushing it back out with their tongue.
Stage 1 is very important for a child’s development of a diverse food palate. However, breastmilk or formula is still the most important food; offer breastmilk/formula before offering solids. Begin introducing iron-rich foods like iron-fortified cereal or pureed beans, lentils and meats thinned with breastmilk or formula. The iron stores that babies receive in utero may be running low by 6 months of age, so it’s good start with these foods first. Vegetables are a good next step. Start with one single ingredient pureed food for 2-4 days and then introduce a new pureed vegetable every few days. Begin introducing fruits and follow the same time frame for introduction as you did with vegetables. It can take up to 10 tastes before baby may like a new food. Introduce babies to new foods one at a time to allow for the detection of an allergic reaction to an individual food. That’s why it is important to introduce one individual food and then wait 2-4 days before introducing a different food.
Stage 2 allows for parents to begin adding mixed ingredients with a range of tastes to baby food. Parents will begin to progress to a 3 meals a day structure. Start testing other vegetables and fruits and proteins. Lentils and meats can make the puree a little thicker. Continue to introduce one new ingredient at a time while mixing a few of them together.
In Stage 3 breastmilk or formula are still important, continue offering first until your baby is 12 months. Solid food should be minced, chopped, grated or in small pieces.
Stage 4 breastmilk or formula may be continued, and Cow’s milk may now be introduced as part of baby’s diet. Baby should be joining in on family meals and eating a wide variety of foods. Below you will find a fall themed recipe for your baby and toddler.
How to make your own baby food
Fruits or Vegetables that are softened when steamed are the easiest to work with. Follow this same process for any food you pick.
- Boil water
- Add peeled and diced vegetable/fruit
- Poke with a fork to check status, when the fork pierces into the food easily, you’re done boiling it.
- Remove from stove top
- Pour out most of the water. Leaving some is fine.
- Use a food processor, blender or immersion blender.
- Feed baby some of the puree fresh out of the container.
SAVING AND STORAGE
- Put the puree into ice cube trays and freeze
- When the food cubes are set, remove them and place in re-sealable bags. Label with food type and date, such as “pears Nov. 23”. Frozen baby food will last 2-3 months in the freezer.
- To reheat, place, in microwave safe container and nuke it. Stir well to avoid hot spots. If you don’t like microwaves, place in a re-sealable bag and run under hot water
Fall Inspired Recipe for your Baby + Toddler
Spiced Sweet Potato Mini Muffins
Gluten-free, nut-free, and dairy-free.
Ingredients:
- 1 cup old-fashioned oats
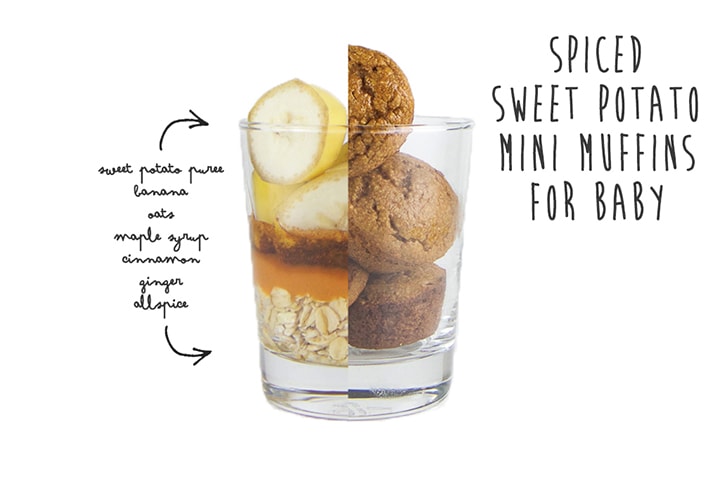 1 ripe banana
- ¼ cup of Sweet Potato Puree
- 1 egg
- 3 tbsp. maple syrup
- 1 tsp cinnamon
- ¼ ground ginger
- ¼ tsp allspice
- ¼ baking powder
- ¼ tsp baking soda
- ¼ tsp salt
Instructions:
- Preheat oven to 350 degrees F. spray or line 16 mini muffin cups with cooking spray or paper liners
- In a blender, add in the oats, banana, sweet potato puree, egg, maple syrup, cinnamon, ginger and allspice and blend on high for 1-2 minutes, scraping down sides when needed, or until the oats are completely broken down and the batter is smooth.
- Add in the baking powder, baking soda and salt and blend on low for 20 seconds.
- Pour batter into muffin cups until they are 2/3 of the way full. Place muffin tin in oven.
- Bake for 8-10 minutes or until golden brown on the top. Let cool and enjoy!
Recipe by Michele Olivier @ babyfoode.com


